Showing posts with label cheap. Show all posts

Friday, March 8, 2013

Pot O' Gold game (freebie)

I came up with this game last year & it was a big hit.  
Here's the original post - I hope you enjoy it!
_____________________________________

My game is inspired by the Turkey Feathers game by The Idea Room.  
The lizard & ladybug had such a blast
 playing the simple dice & clothespin game over Thanksgiving.  
I wanted to make a St. Patrick's Day version.

DSCN7023

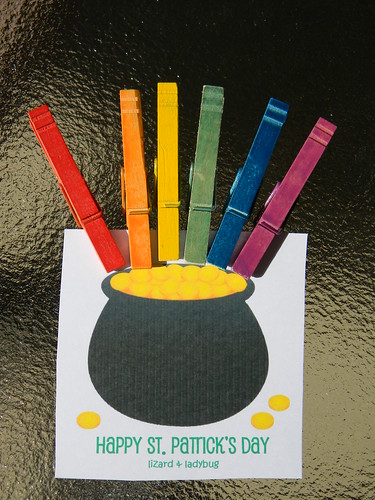
I already had the painted clothespins so a rainbow seemed like a no-brainer.
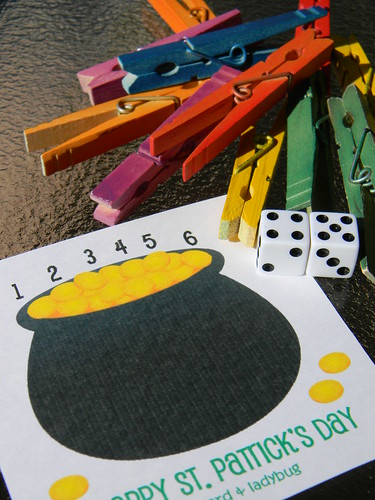
I found a free pot of gold graphic and created this fun little game.
DSCN7026

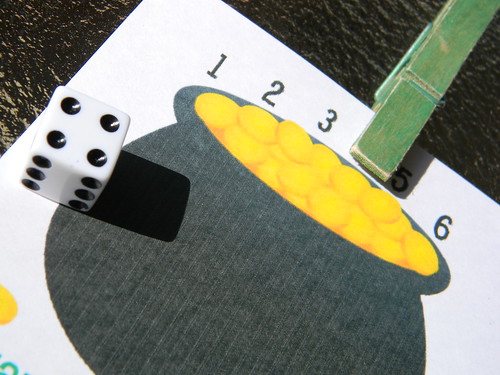
The rules are pretty simple.  
Each player gets a card (click HERE for card & instructions) and 6 clothespins.  
Each player rolls a dice (or die, if you're proper).  
Add a clothespin to the corresponding number.
DSCN7028


The first one with a Rainbow wins.
 DSCN7029


the ink in my printer is a little wonky...but you get the idea.  
I'd love to know if you like this game & if you use it, I'd love to hear how the kiddos like it!

Tuesday, March 5, 2013

ShamROCKS idea & freebie

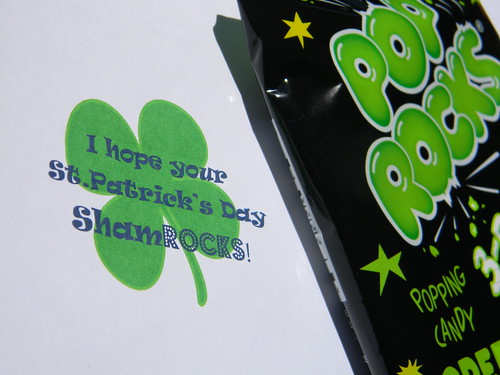
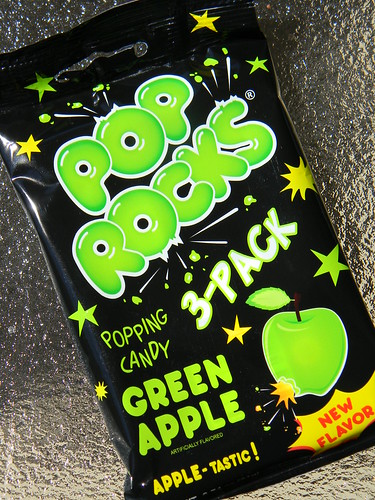
While browsing the candy aisle, I spotted some green apple Pop Rocks (3/$1). 
 An idea was born!

DSCN9145


It's so simple!!
take these
DSCN9143

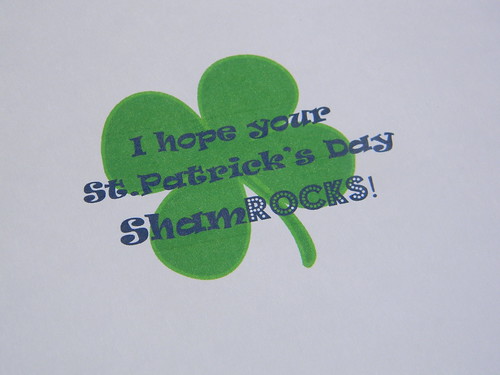
add one of these
(click HERE for the tags)
DSCN9141

and you have
a cute and festive (and cost effective) treat for St. Patrick's Day!
DSCN9145

Enjoy!


Tuesday, August 7, 2012

School snack idea & freebie lunch box note

Here's a simple snack idea I put together yesterday. 
 It's perfect to put in a lunchbox (I've included some simple lunchbox notes) 
or it's great for an after-school treat.

I already had all of the ingredients.  
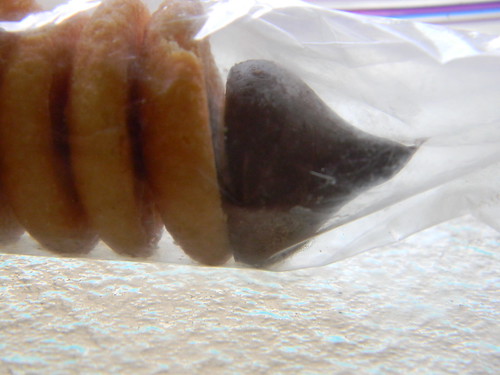
fruit roll up (Target brand), mini Nilla wafers and a Hershey kiss
DSCN8403

Doesn't is sorta look like a pencil?? 

eraser end
DSCN8404

lead end
DSCN8405

 add one of these simple (but sweet) lunchbox notes
appleheart

and you've got a cute, simple and tasty school snack.

Click HERE for the lunchbox notes.

Have a great Tuesday!!


Thursday, April 19, 2012

Freezer Paper stencil shirt {tutorial}

Here's a post I did a LONG time ago on freezer paper stencils.  
I'm not sure why I haven't done them lately, but here are 2 I made this week. 
 I thought they'd be cute for our Lorax/Earth Day playdate this weekend.  

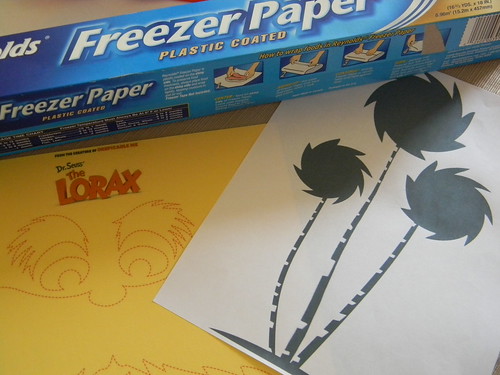
Grab a shirt, some freezer paper (I found mine at Walmart), 
image to make a stencil and fabric paint*
*you can also use regular acrylic paint mixed with Fabric Medium

DSCN7404
I found the Lorax image HERE and the Truffula Tree image HERE

I traced the images onto the unwaxed side of the freezer paper 
and used an Exacto knife to cut out the image.

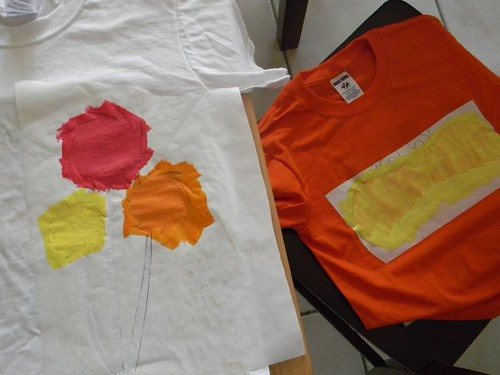
Place the image, wax side down, on the t-shirt and iron.  
The freezer paper will stick to the shirt.  
Now it's time to paint :)
freezerpaperstencil-001
*make sure to put something between the shirt, 
so the paint doesn't soak through to the back of the shirt.

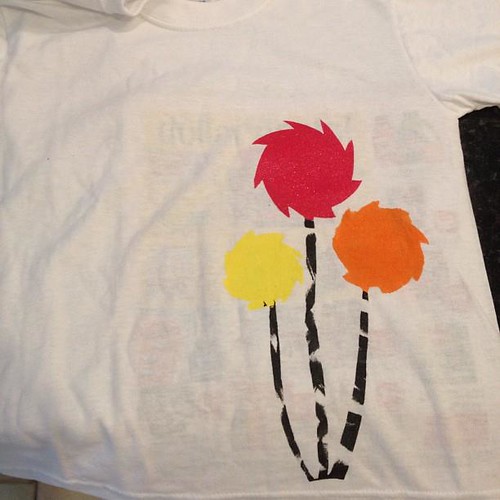
Once the paint dries, slowly peel off the freezer paper and TADA
truffulashirt

Super cute shirt!  
The best thing about using freezer paper as your stencil paper...
you can basically create anything you'd like!
Thursday, March 29, 2012

upcycled 'candy' jars

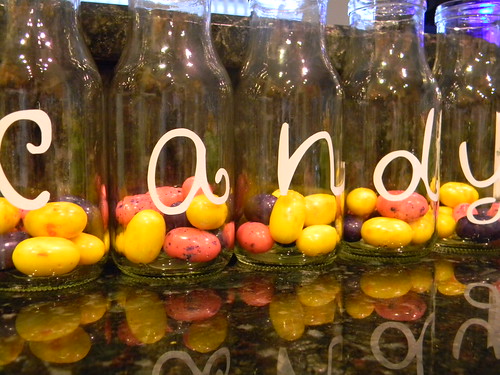
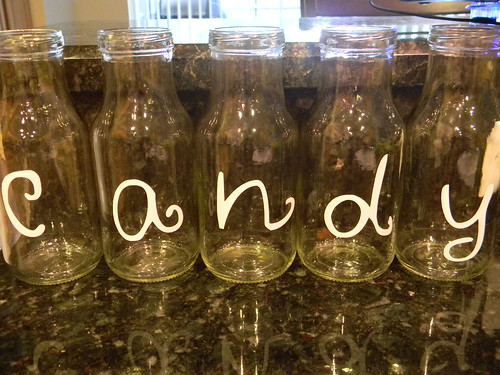
I saw this idea on Kelli's blog, Random Thoughts of a SUPERmom, a long time ago!  It's been one of those projects I've wanted to do and never got around to it.  But after getting my Silhouette Cameo a few weeks ago, I did it.  In fact, the candy letters were one of the first things I cut :)

DSCN7362

I used Target brand coffee drink bottles (peppermint mocha, if you're interested) and white vinyl (from Expressions Vinyl)  

I can't remember what font this is..but I thought it was cute.

DSCN7358

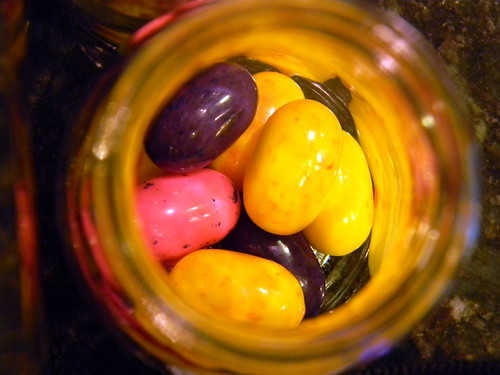
 add some fun candy (this is where you can 'match' your holidays)
DSCN7361

Now you've got a cute, simple and inexpensive little something for your mantel (or counter)
DSCN7362 

Have a great Thursday!

linking up:
Skip To My Lou


Wednesday, February 29, 2012

Happy Leap Day 2012

Today is one of those funny days that comes around every 4 years. 
 It also happens to be my wedding anniversary.  
It's our 8th year of marriage but only our 2nd 'official' anniversary. 
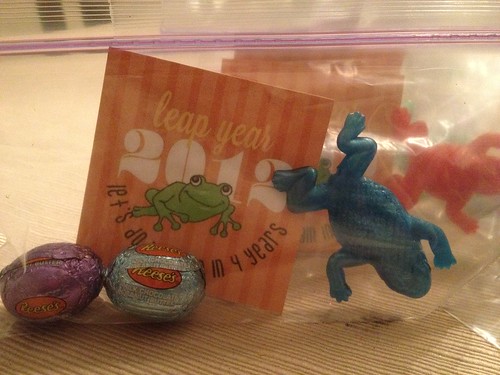
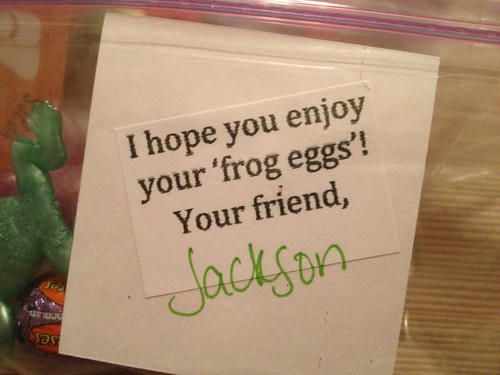
 I've yet to come up with a gift for the husband...BUT I did put together these Leap Day treats to send with the lizard to school :)

Stretchy frogs, Reese's 'frog eggs' and this printable tag from She's {kinda}Crafty makes a fun little treat to celebrate this fun day.
leapyeartreats1

*I added the saying on the back (click HERE if you'd like it).
leapyeartreats2

 I hope you have a great Leap Day!!
Do something EXTRA fun!

Tuesday, February 28, 2012

Tissue Paper Flower Tutorial

I've tried to make these tissue paper poms (or flowers, as I call them) before. 
 I followed the tutorial from Martha Stewart.  
Of course, I ended up with a ripped up, soggy* mess.  
*I tend to sweat when I get frustrated :)

For my 40th Fiesta, I gave them another try.  
This time I just did my own way & I was very happy with how they turned out.  

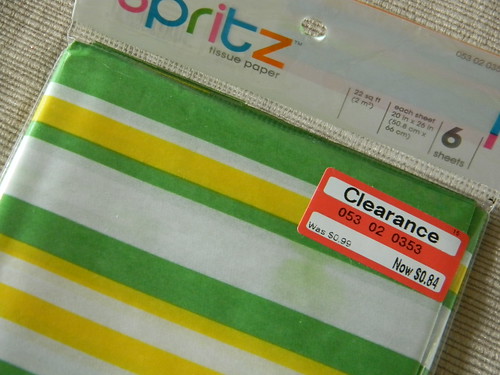
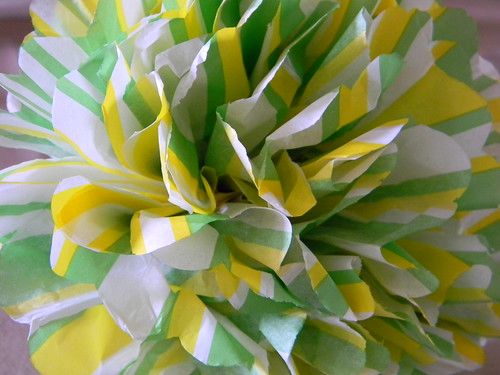
I found this tissue paper on sale at Target & thought it would be perfect for St. Patrick's Day.
DSCN7053

You'll also need 
floral wire or pipe cleaners
wire cutter (in case you need to trim the floral wire)
scissors

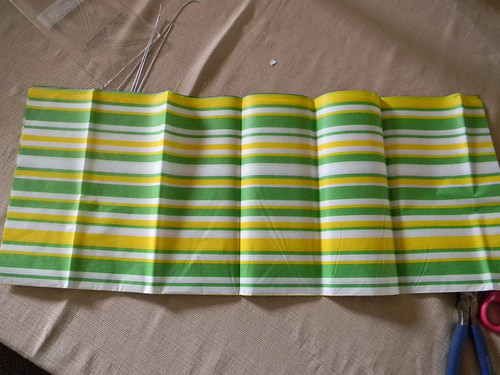
I am not a fan of measuring so I let the creases in the paper do it for me.
DSCN7057

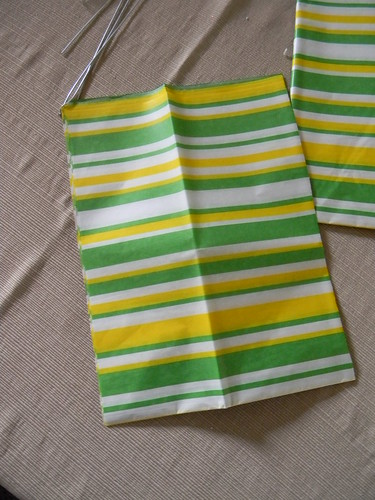
I cut a section of paper.
DSCN7058

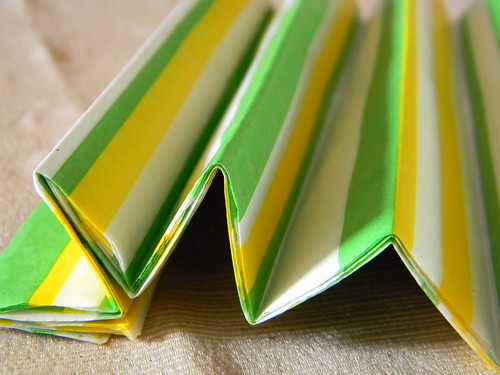
I folded it 'fan' style 
DSCN7060

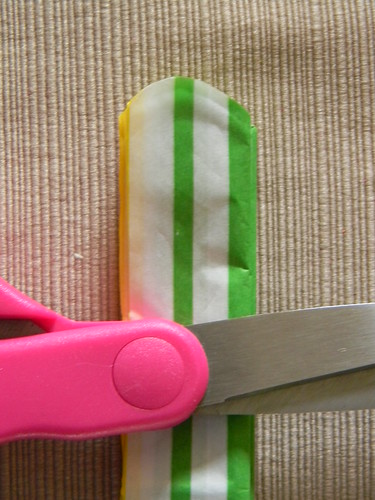
I rounded each end.  
You could also make a point at each end - it gives the flower a little different look.
DSCN7061
 
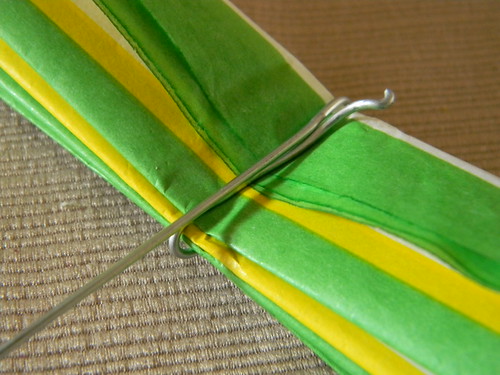
I wrapped the wire around the center. 
 I used pliers to pinch the wire & help secure the paper.
DSCN7062

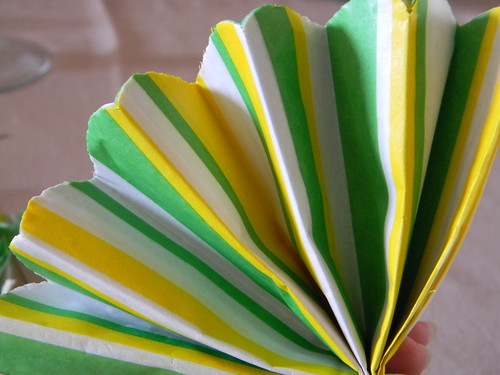
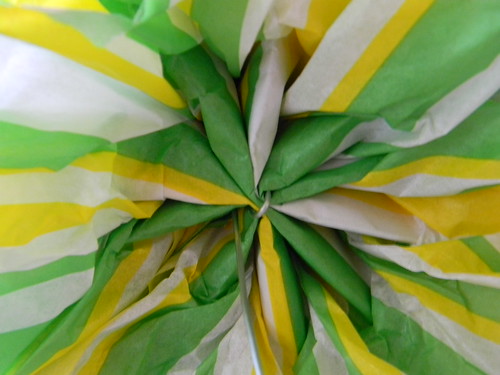
This is what it looks like before you start pulling the layers apart.
DSCN7063

Gently start pulling the layers apart. 
 I usually pull one or two layers from the top and then pull one or two from the bottom.  
That way I can spread them out as evenly as possible.  
Once I have all the layers separated, 
you may have to 'fluff' it to get it looking the way you want.
DSCN7065

This is the underside. 
DSCN7066

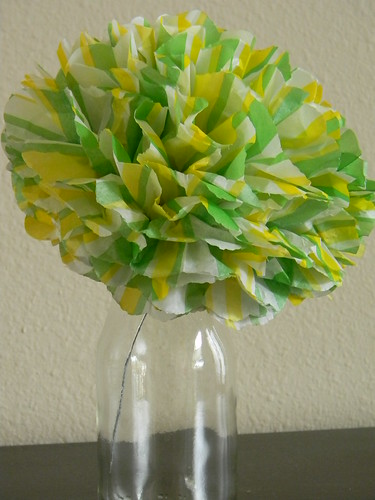
Put it in a cute vase (or empty frap bottle, in this case)
DSCN7067

*if you wanted to hide the wire, you could use ribbon, fancy tape or even a cute straw.

They can be made big or small.  
They are so versatile and make such a huge impact!

I hope this was easy to understand..I always feel like I'm forgetting to share a step :)

Happy Tuesday y'all.

Do you have any big plans for your EXTRA day tomorrow??
It's LEAP DAY!!
(and our 2nd 'official' wedding anniversary).  
I better start planning something - yikes!!

Wednesday, February 8, 2012

7 Days of Love (tutorial)

Thanks to RoseMarie of Home Confetti for sharing this idea!

Valentine's is typically 'kid time' in our house & I love all the fun projects to do with them. 
This year, I decided to give the husband a little....attention  :)

Here's what I used:
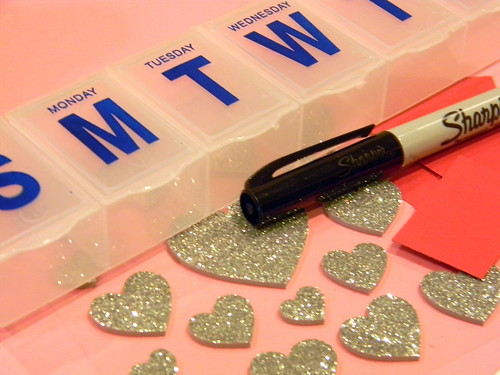
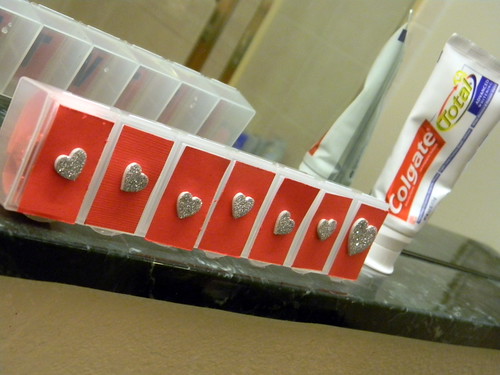
pill organizer from Dollar Tree ($1)
red & pink card stock (from my stash)
heart stickers (from the lizard & ladybug's stash)
candy (from my stash)

DSCN6906


I cut the red cardstock to cover the top of each little spot.  
I added the heart sticker.
 DSCN6909


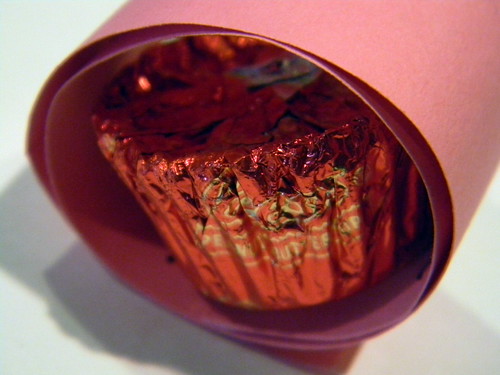
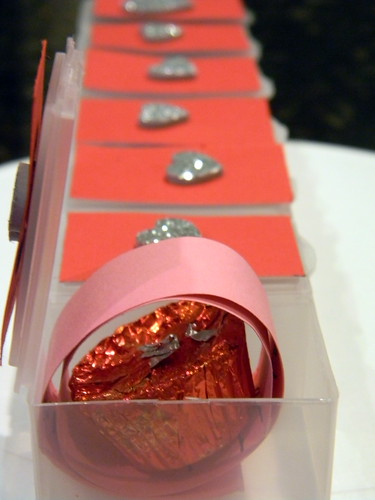
I cut slips of pink cardstock to use each day for little notes of loooovvveeee :)
Add a little piece of candy and voila' 
DSCN6910


Super simple, Super versatile & Super cheap (I spent $1)
DSCN6911


Obviously you can use this idea for the kids, husband, boyfriend, girlfriend, friend and/or family.
It's an easy way to remind your special person just how much you care!

DSCN6912


Wednesday, February 1, 2012

Valentine Countdown fun (& freebies)

This is a project I used last Valentine's Day..basically a hide and seek with a Valentine's twist.  
For 14 days, I would hide a little treat for the kids to find.  
They had a good time with this last year.
It's that time again :)
This is part of my post from last February...
I've included the heart numbers for you!  
Enjoy!

________________________________

Here's what I used:

pipe cleaners (cut in half), clear treat bags and numbered heart tags


The idea is to hide their treat and have them find it.  
My kids love hide and seek so this is great for them.  
Plus, it may give me 5 minutes peace :)
We are starting off with lollipops (heart shaped to be exact)

 If you wanted to do something like this yourself...

but don't have the pipe cleaners and/or clear bags.  

Use some ribbon and plastic snack bags.  

Or twisty ties and saran wrap. 


I just think it's a fun treat for the kids 

and it gives them something to look forward to each day!


**Oh and if you need heart tags..here you go!**

days 1-6, days 7-12, days 13-14 & blanks


Happy February 1st!

Monday, January 23, 2012

Super simple 100th Day of School treat

If your kids are celebrating their 100th day of school soon & you want to send a cute treat...this one is so so simple.

Everything Bagel pretzels (from Rold Gold) and pretzel sticks.  
Add them together and ... see the 100??

DSCN6772
Cute, right?!


You can either put them in snack bags for each of the kids 
OR put them in a big bowl and let the kids make their own '100' for fun :)

The lizard will be taking these to school this week for his celebration!

Tuesday, January 17, 2012

a gift to myself

Some of you may know my birthday is coming up...(in 13 days, to be exact).  
I've been looking around for fun ideas for my 40th Fiesta - here's my Pinterest board. 

I wanted something special to wear, like jewelry.  
I'm not a flashy jewelry person.  I like simple, classic & unique.
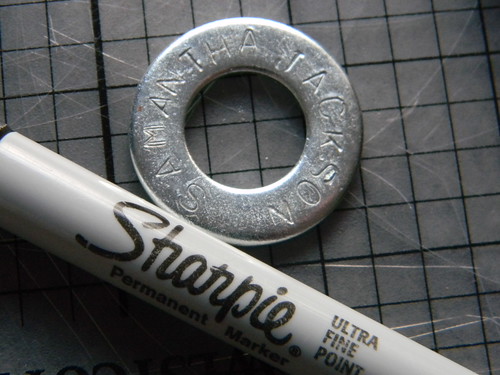
  I'm loving hand stamped, washer-style pendants. 
In fact, I made some for Mother's Day a few years ago.* 

While searching online for my own hand stamped cutie, I decided to try making one (again).  
*my first attempt left me frustrated & needing to wash out my mouth with soap.
This time went much better. 

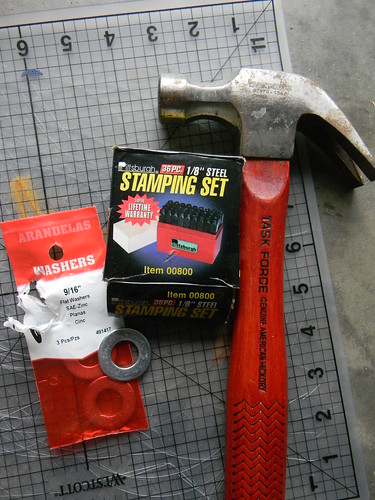
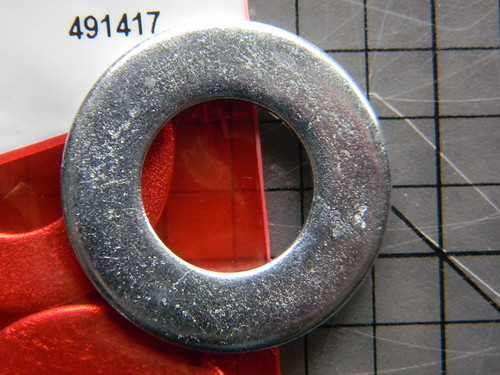
Here's what I started with.
I got my stamp set here.  The washers came from Lowes (~$1.20/3) 
Oh, grab a Sharpie too!
DSCN6745


I picked 9/16th size washers because I liked the size 
(and I had lots of letters to add)
DSCN6746
 I kind of eyeballed the placement of the letters, that's why they are a little wonky.
DSCN6748


After I filled in the letters using the Sharpie..it looked like this
DSCN6749


Dampen a paper towel with rubbing alcohol to remove the 'extra' marker 
DSCN6752

I plan on trying it again, to see if I can even out the names.  
And to make better impressions of all the letters.  
But you get the idea.  
I'll probably hang it on a simple ribbon 
(maybe with a bead) and give it to myself as a gift :)

Have a great Tuesday!
and don't forget to enter the O.R.E Originals giveaway HERE


Thursday, December 29, 2011

Fab Finds Friday (NYE inspiration)

I can't believe this will be my last post in 2011!!  
Where has this year gone?  

Today's finds are all about New Year's Eve...and last minute party ideas.  
Whether your celebration is HUGE or low-key (like ours), 
I hope you find a little inspiration today.  

Plus I'm sharing my own little NYE kit :)
DSCN6613


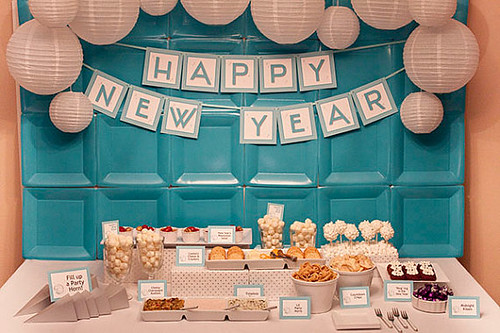
If you're still looking for decorations, Piggy Bank Parties has 3 great collections!! 
nyepiggybankparty

They are a deal, only $5.00!! 
If you're not stalking Oink! The Blog of Piggy Bank Parties...you really should be!  
It's one of my FAVES!


Looking for a fun, festive dessert?  
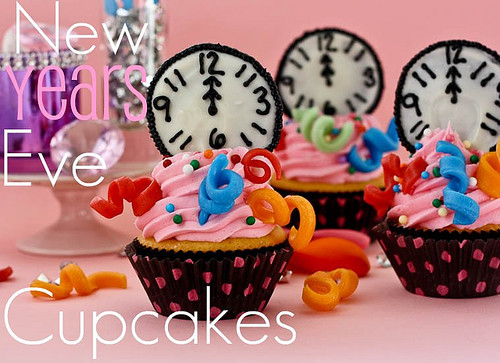
These New Year's Eve Midnight cupcake from Confessions of a Cookbook Queen are perfect!
nyecupcakes

How adorable are these?
Click here for the recipe & instructions.


Looking for something fun to do with the kids? 
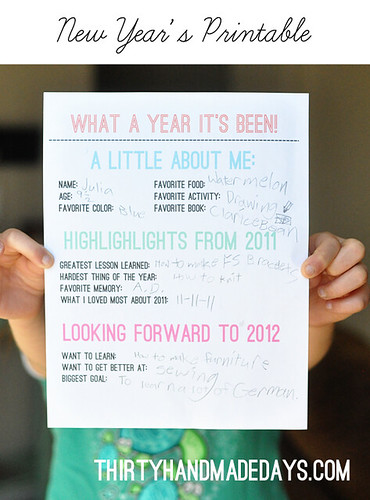
Mique of 30 handmade days is sharing this great resolution activity printable. 
new_year_resolution

Click here to get yours.
I've already printed some for our NYE!


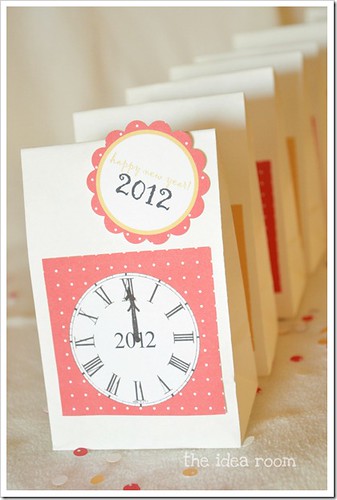
Another great activity for the kids comes from The Idea Room.   
new-years-eve-countdown-bags-4wm_thumb
 
Click here for the instructions (and free printables) along with Amy's activity ideas.


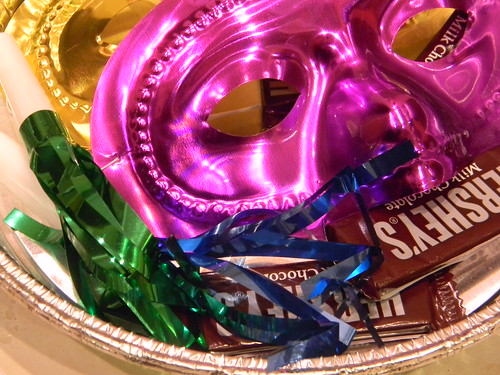
Here's my contribution.  
A NYE kit for the kids.
DSCN6614
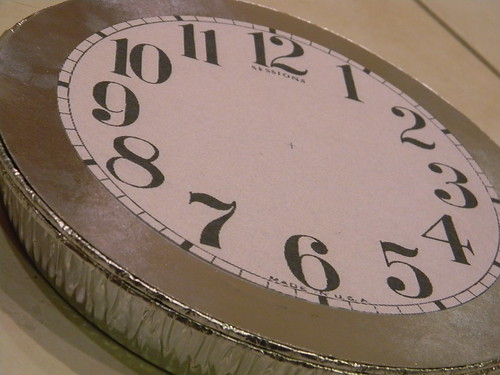
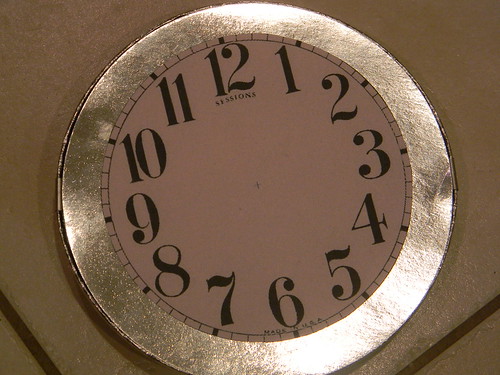
Borrowing this idea from One Charming Party.  
I got a few aluminum pans w/lids from Dollar Tree.  
The graphic is from Graphics Fairy - enlarged to (sorta) fit the pan.*  
You could use any color paper and hand draw a clock too :)  

I'm filling the pan with candy, noise makers, masks & 
anything else that will keep the kids entertained. 
DSCN6609

If you wanted, you could add clock hands and have the kids countdown to midnight.  
Lots of ways to use this simple NYE kit.


I wish you all a very very Happy New Year!!
 
Related Posts with Thumbnails